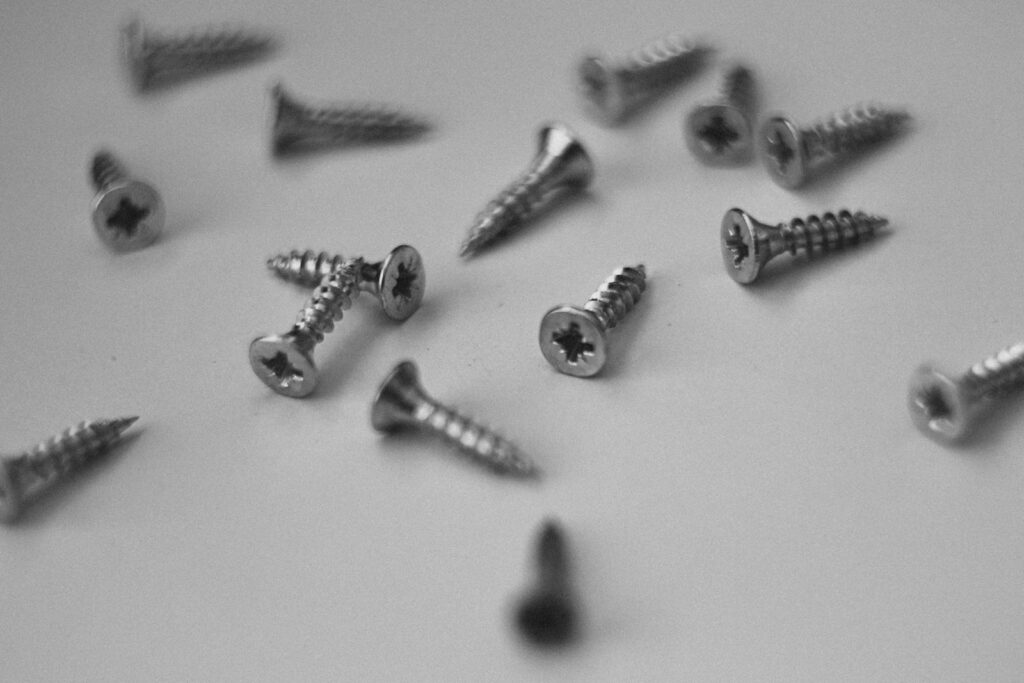
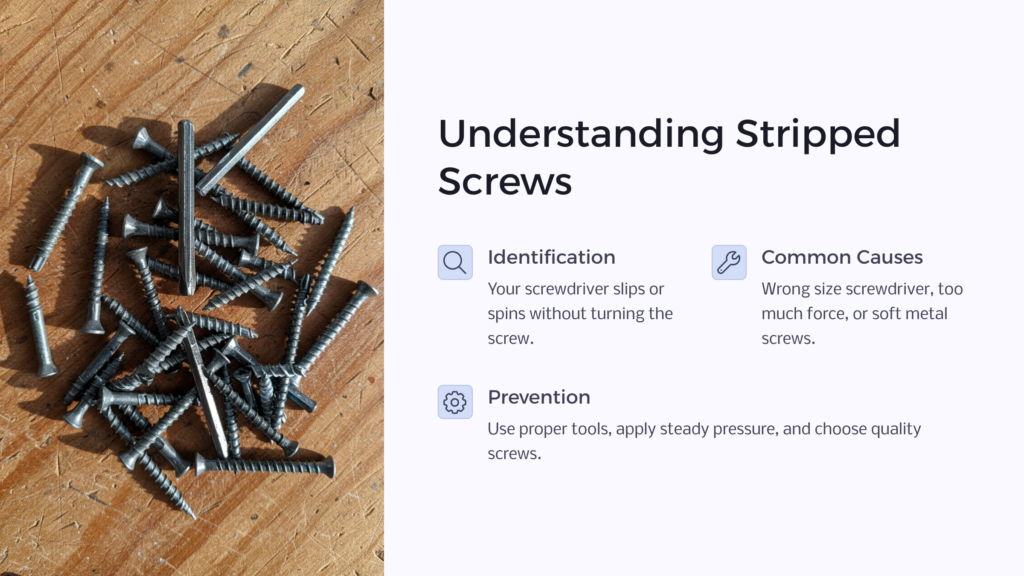
Stripped screws are a common frustration in many DIY projects and repairs. When a screw is stripped, its head is damaged, making it difficult or impossible to turn with a regular screwdriver. You’ll notice that your screwdriver slips or spins in the screw head without turning the screw. This can happen with any type of screw, including Phillips head, flathead, or even Allen screws. This often happens when too much force is applied, the wrong size screwdriver is used, or the screw is made of soft metal.
Gathering the Right Tools
Before you start trying to remove a stripped screw, it’s important to have the right tools on hand. Having a variety of options will increase your chances of success. Here’s a list of tools that can be helpful:
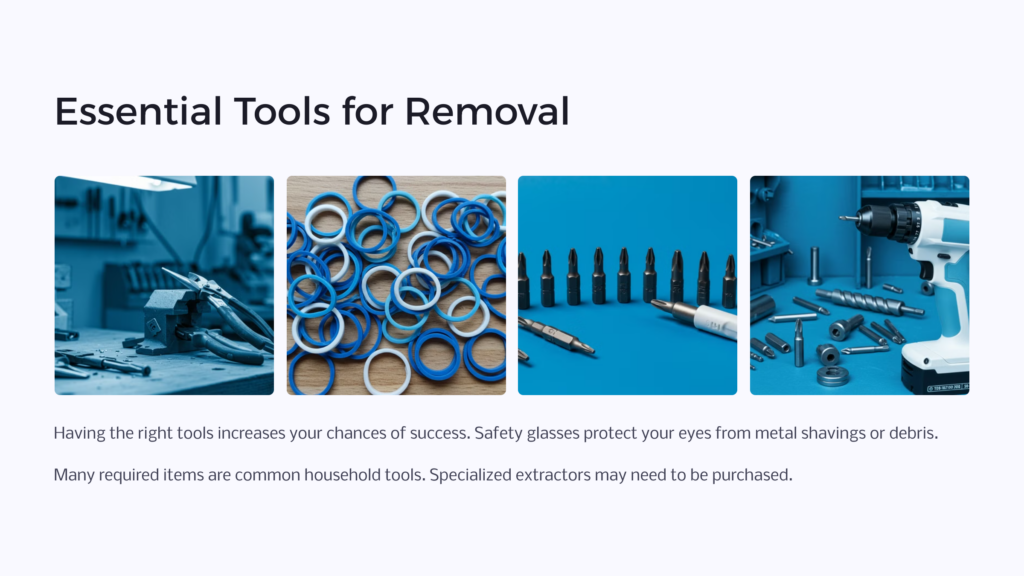
- Pliers (needle-nose and locking pliers)
- Rubber bands
- Electric drill
- Screw extractor kit
- Flathead and Phillips head screwdrivers
- Hammer
- Utility knife or saw
- Steel wool or abrasive powder
Many of these items are common household tools, but some, like a screw extractor kit, may need to be purchased from a hardware store. Don’t worry if you don’t have everything – we’ll cover methods using various tools, so you can choose the one that works best for your situation.
Remember, safety should always come first. Wear safety glasses to protect your eyes from metal shavings or debris, especially when using power tools or hammering.
How to Use Pliers to Remove Stripped Screws
Pliers can be a simple yet effective tool for removing stripped screws, especially if the screw head is protruding from the surface. This method works best for screws that aren’t too tightly embedded.
Start by choosing the right type of pliers. Needle-nose pliers work well for smaller screws, while locking pliers (also known as vise-grips) are great for larger screws or when you need extra gripping power.
Grasp the head of the screw firmly with the pliers, making sure to get a good grip on the sides of the screw head.
Once you have a solid hold, slowly turn the pliers counterclockwise to loosen the screw. If the screw is stubborn, try gently rocking the pliers back and forth while maintaining pressure. This can help break the screw free from any rust or debris holding it in place.
If the screw head is flush with the surface, you may need to use a flathead screwdriver to create a small gap between the screw head and the surface. This will give your pliers something to grip onto. Remember to be patient and apply steady pressure to avoid damaging the surrounding material.
Removing Stripped Screws with a Rubber Band
One of the simplest and most accessible methods for removing a stripped screw is using a rubber band. This technique works by providing extra grip between the screwdriver and the damaged screw head. It’s particularly useful for screws that are only slightly stripped and still have some shape to their head.
To try this method, place a wide rubber band between the screwdriver and the screw head. The rubber band should cover the entire screw head. Press down firmly with the screwdriver and slowly turn counterclockwise. The rubber material fills in the gaps of the stripped screw, allowing the screwdriver to grip and turn the screw.
If the first attempt doesn’t work, try using a thicker rubber band or doubling up the band for more grip. You can also experiment with different types of screwdrivers to find the best fit. This method is gentle and won’t cause further damage to the screw or surrounding material, making it a great first option to try.
Remember, this technique works best on screws that aren’t too tightly stuck. For more stubborn screws, you may need to combine this method with others or move on to more robust solutions.
How to Use a Drill to Remove Stripped Screws
When simpler methods fail, using a drill can be an effective way to remove a stripped screw. This technique requires more skill and caution but can be very successful, especially for deeply embedded screws.
Start by selecting a drill bit that’s slightly smaller than the screw shaft. The goal is to drill into the top of the screw, creating a new slot for a flathead screwdriver. Carefully center the drill bit on the screw head and drill slowly, applying steady pressure. Only drill about 1/8 inch deep to avoid damaging the surrounding material.
Once you’ve created a new slot, try using a flathead screwdriver that fits snugly in the new groove. Apply firm downward pressure while turning counterclockwise to remove the screw. If this doesn’t work, you may need to drill deeper or try a different method.
For very stubborn screws, you can use a special screw extractor bit. These bits are designed to grip the inside of the screw as you drill, allowing you to reverse the drill and remove the screw. Always follow the manufacturer’s instructions when using a screw extractor kit.
Alternative Screwdrivers for Stripped Screws
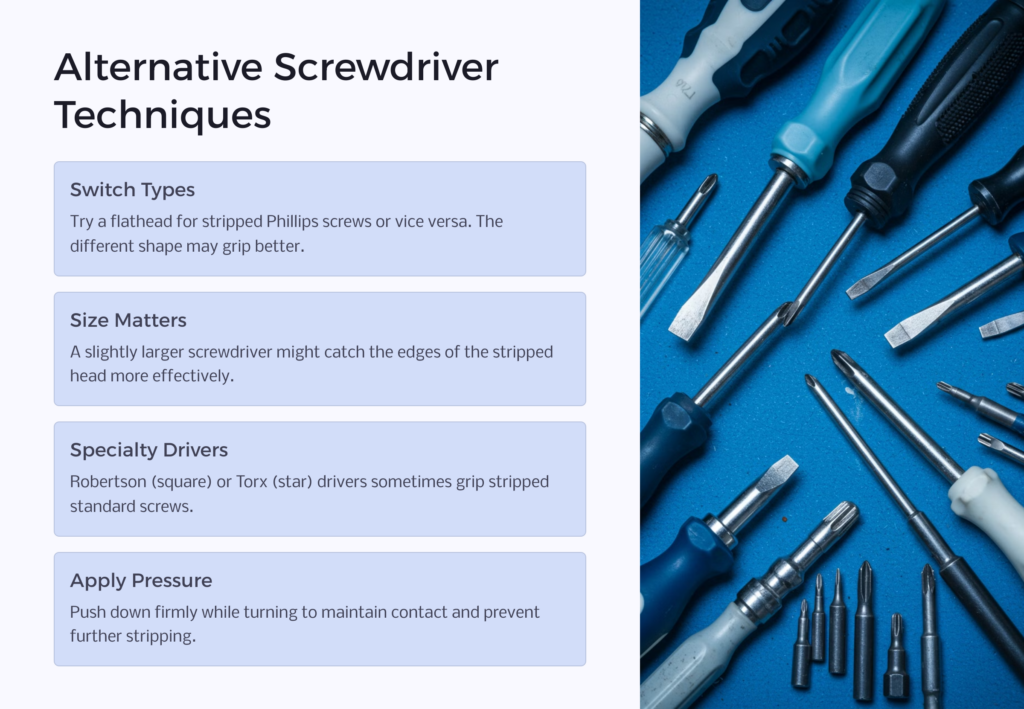
Sometimes, the key to removing a stripped screw is simply using a different type of screwdriver. This method is worth trying before moving on to more invasive techniques, as it’s simple and won’t cause additional damage.
If you’re dealing with a Phillips head screw, try using a flathead screwdriver that fits snugly across the damaged screw head. The straight edge of the flathead can often grip the screw better than a worn Phillips head screwdriver. Conversely, if you’re struggling with a flathead screw, a Phillips head screwdriver might provide better leverage.
Another option is to use a screwdriver with a different size tip. A slightly larger screwdriver might be able to grip the edges of the stripped screw head more effectively. Some specialty screwdrivers, like a Robertson (square) or Torx (star-shaped) driver, can sometimes grip a stripped Phillips or flathead screw.
Remember to apply firm downward pressure when using any screwdriver on a stripped screw. This helps maintain contact and prevent further stripping. If you find a screwdriver that works, but the screw is still tough to turn, try applying a penetrating oil to lubricate the threads and make removal easier.
Using a Screw Extractor Kit
A screw extractor kit is a specialized tool designed specifically for removing stripped or broken screws. While it requires an investment, it can be a lifesaver for tough removal jobs or if you frequently deal with stripped screws.
To use a screw extractor, start by selecting the right size extractor for your screw. Most kits come with multiple sizes. Next, use a hammer to gently tap the extractor into the center of the stripped screw. The extractor should bite into the screw head.
Once the extractor is firmly in place, use a wrench or drill (in reverse) to turn the extractor counterclockwise. As you turn, the extractor should grip the screw more tightly and begin to back it out. Continue turning until the screw is completely removed.
If the screw is particularly stubborn, you may need to drill a small pilot hole in the screw head before using the extractor. Always follow the manufacturer’s instructions for your specific screw extractor kit to ensure safe and effective use.
Cutting a New Slot in a Stripped Screw
When other methods fail, creating a new slot in the screw head can provide a fresh start for removal. This technique requires some precision but can be very effective, especially for flathead screws or screws with severely damaged heads.
To cut a new slot, you’ll need a small hacksaw, a rotary tool with a cutting disc, or a Dremel tool. If using a hacksaw, carefully cut a straight line across the screw head, deep enough to accommodate a flathead screwdriver. If using a rotary tool or Dremel, use the cutting disc to make a similar groove.
Once you’ve created a new slot, use a flathead screwdriver that fits snugly in the groove. Apply firm downward pressure and turn counterclockwise to remove the screw. This method gives you a fresh surface to work with and can often provide enough grip to remove even the most stubborn screws.
Be cautious when cutting to avoid damaging the surrounding material. If you’re working with a painted surface or delicate wood, you may want to cover the area around the screw with masking tape to protect it from scratches.
Spot-Welding a Nut for Stripped Screw Removal
For those with access to welding equipment, spot-welding a nut to a stripped screw can be an effective removal method. This technique is particularly useful for large screws or bolts that are severely stripped and resistant to other removal methods.
Start by selecting a nut that fits over the head of the stripped screw. Clean the top of the screw head to remove any dirt or debris. Place the nut on top of the screw head and use a welding machine to spot-weld the nut to the screw. Be careful not to weld the screw to the surrounding material.
Once the nut is securely welded to the screw head, you can use a wrench or socket to turn the nut and remove the screw. The weld creates a strong connection, allowing you to apply significant torque without worrying about the tool slipping off the damaged screw head.
This method requires welding skills and equipment, so it may not be suitable for everyone. If you’re not comfortable with welding, it’s best to consult a professional or try other methods first. Always prioritize safety when working with welding equipment.
Using Household Items to Remove Stripped Screws
Sometimes, the solution to removing a stripped screw can be found right in your kitchen or office. These methods are great for when you don’t have specialized tools on hand or prefer to try a gentler approach first.
One popular household method is using a wide rubber band, as mentioned earlier. Another option is to use a piece of steel wool between the screwdriver and the screw head. The steel wool can provide extra grip, allowing the screwdriver to turn the screw. Similarly, you can try sprinkling a bit of sand or using a piece of abrasive paper between the screwdriver and screw for added traction.
For a quick fix, try placing a wide elastic band over the screw head. The elastic can grip the edges of the stripped screw, giving your screwdriver something to catch onto. You can also experiment with different materials like duct tape or a small piece of cloth to achieve a similar effect.
Remember, these household methods work best on screws that aren’t too severely stripped or tightly stuck. They’re worth trying as a first step because they’re gentle and won’t cause further damage to the screw or surrounding material.
Preventing Stripped Screws in the Future
While knowing how to remove stripped screws is valuable, preventing them in the first place is even better. By following a few simple guidelines, you can significantly reduce the likelihood of dealing with stripped screws in your future projects.
First, always use the correct size and type of screwdriver for the screw you’re working with. A properly fitting screwdriver reduces the risk of slipping and stripping the screw head. Keep your screwdrivers in good condition, replacing them when they become worn or damaged.
When driving screws, apply steady, consistent pressure and avoid using too much force. If you’re using a power drill, be cautious not to over-tighten the screw. Many drills have adjustable clutch settings that can help prevent over-tightening.
Consider using higher quality screws for important projects. While they may cost a bit more, good quality screws are less likely to strip and can save you time and frustration in the long run. For projects in wood, pre-drilling pilot holes can make screws easier to drive and less likely to strip.
Lastly, if you encounter resistance when driving a screw, stop and investigate the cause rather than forcing it. Sometimes, backing the screw out slightly and then continuing can help prevent stripping. By being mindful of these tips, you can keep your screws intact and your projects running smoothly.
Check us out at Homeowner.org for more on home improvement. We’re here to be your ultimate resource as a homeowner!