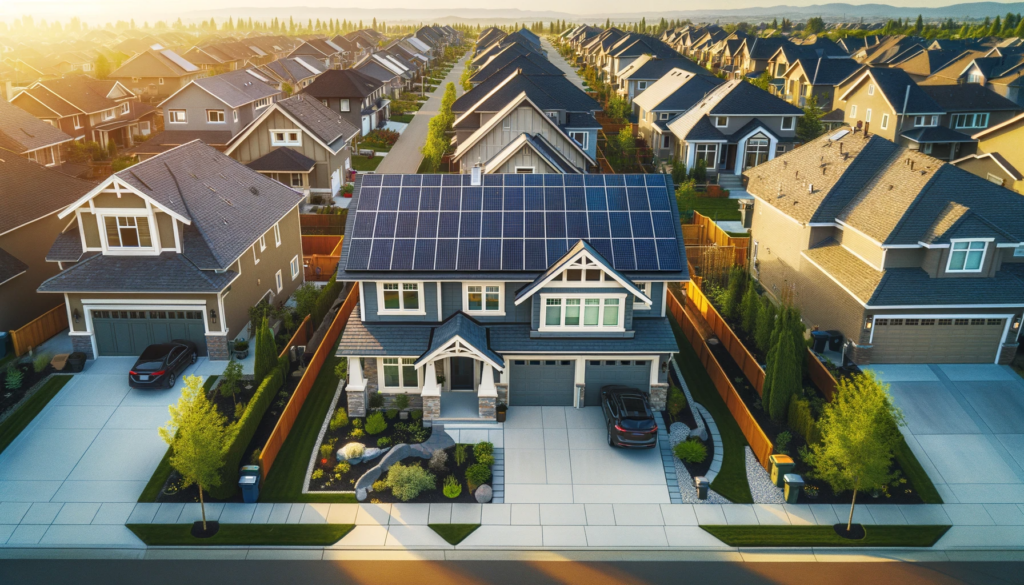
In an era marked by a heightened consciousness about environmental sustainability, DIY solar systems have emerged as an effective solution for individuals seeking to minimize their carbon footprint. This solar equipment can be installed to generate electricity for personal use. If you’re not convinced of solar’s advantages, just look at the widespread adoption of these systems around you.
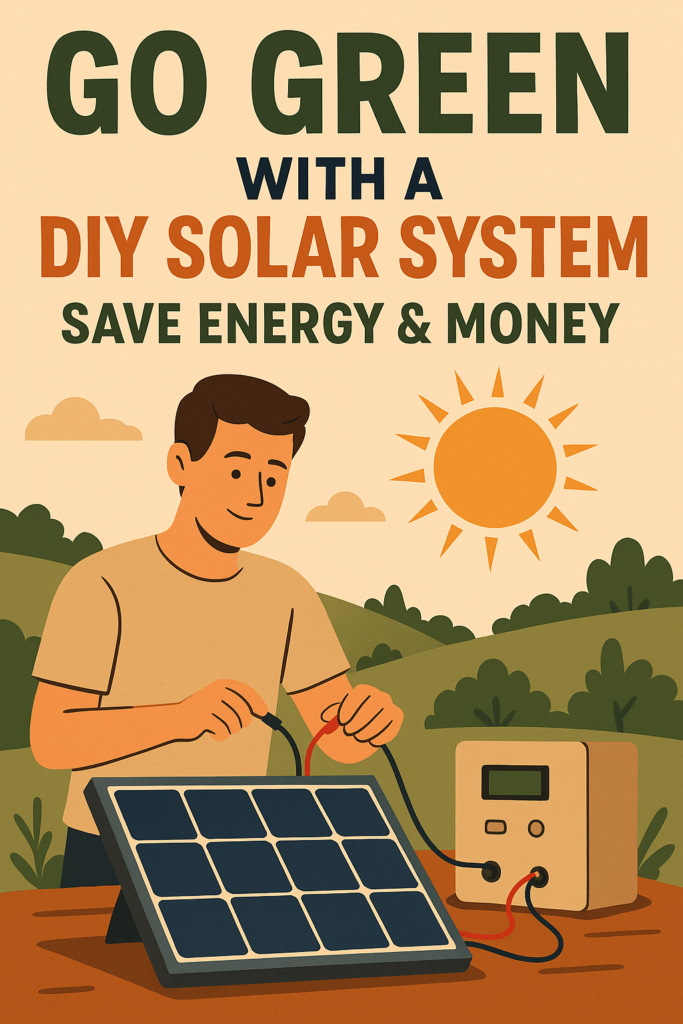
Solar energy is a great option due to its sustainability, and cost-effectiveness. The sun provides an endless supply of energy, so obviously it’s a reliable source. Solar is also clean and renewable; this means minimal environmental impact. Moreover, the cost of solar panels has significantly decreased over the years, making it an affordable option for homeowners.
Investing in a DIY solar system not only aligns with the pressing need for renewable energy but also offers homeowners an opportunity to save considerably on their utility bills. This is an attractive prospect, given the ever-rising costs of traditional energy sources. Additionally, the DIY aspect provides a sense of accomplishment and a priceless opportunity to acquire new skills.
Understanding Solar Energy
Solar energy is harnessed from sunlight. The central principle behind this process is the conversion of solar radiation into usable electricity through photovoltaic cells integrated into solar panels.
A photovoltaic cell or a solar cell is the fundamental building block of solar technology. It works by absorbing sunlight, inducing a flow of electricity by stimulating electrons in the solar panel’s silicon cells. Multiple photovoltaic cells are assembled to form a solar panel, the main component of a DIY solar system.
DIY Solar System Components
Building a DIY solar system entails the assembly of several integral parts, each contributing to the overall operation and efficiency of the system. Here is a rundown of these components:
Solar panels
These are the primary source of electricity generation in a solar system. They absorb sunlight to generate direct current (DC) electricity.
Solar inverters
Their role is to convert DC electricity produced by the panels into alternating current (AC), the standard electrical form used by household appliances.
Battery storage
These store surplus electricity produced for later use, especially during night-time or rainy days when sunlight is scarce.
Charge controller
Also known as solar regulators, they manage the flow of electricity between the solar panels, battery, and load to avoid overcharging or over-discharging the battery.
Solar mounting equipment
These include the hardware needed to secure the solar panels onto the rooftop or ground.
Planning your DIY Solar System
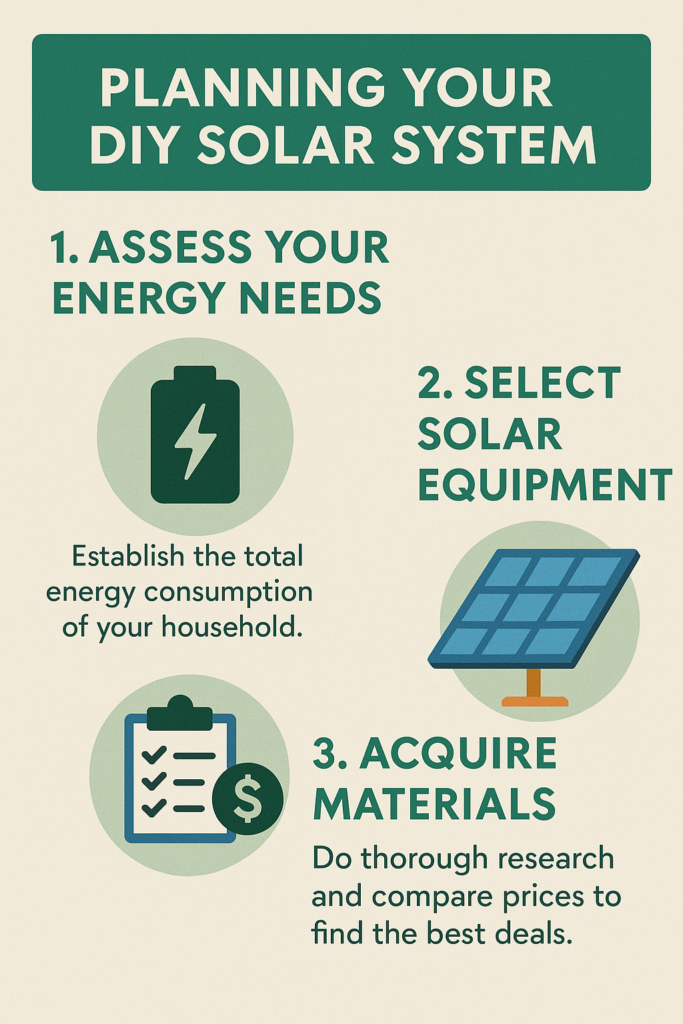
Like any significant project, erecting a DIY solar system requires meticulous planning. First, you need to assess your energy needs. Establish the total energy consumption of your household to determine the size and number of solar panels you will need.
Next, select the solar equipment. Choose equipment that meets your energy requirement and fits within your budget. Acquiring materials for a solar energy system can vary depending on your location and the availability of resources. However, with the increasing popularity of DIY solar systems, many suppliers now offer a wide range of solar equipment that can be easily purchased online or through local retailers. It is essential to do thorough research and compare prices to find the best deals that suit your needs and budget. Additionally, consider reaching out to local solar energy communities or organizations for guidance and recommendations.
Step by Step Guide on Setting Up a DIY Solar System
Step 1: Site assessment and measurement
This involves evaluating the location to determine the most suitable place to mount the solar panels for maximum sun exposure.
Step 2: Installing solar mounting brackets
Fix the solar mounting brackets to your rooftop or on the ground, depending on your assessment from step 1.
Step 3: Mounting the solar panels
This involves fitting the solar panels onto the mounting brackets.
Step 4: Installing the Solar Inverter
Attach the solar inverter near the solar array, making sure it’s in a well-ventilated location to avoid overheating.
Step 5: Connecting to Battery Storage
Link the solar inverter to the battery storage. The inverter will direct excess electricity to the battery for storage.
Step 6: System testing
At this point, assess the entire system to ensure everything is functioning correctly.
Solar System Maintenance and Tips
Maintenance largely involves cleaning the solar panels periodically to ensure optimum performance. It’s also recommended that you regularly inspect the system to identify and resolve any malfunctions early.
Orienting your solar panels to the direction that gets the most sunlight exposure in your geographic location can maximize your energy production. Additionally, monitoring your energy consumption and adjusting it accordingly can help optimize the efficiency of your DIY solar system. Regularly checking for any shading or obstructions that may affect the sunlight reaching your panels is also important. Finally, staying updated with advancements in solar technology can help you make informed decisions about upgrades or improvements to your system in the future.
Legal and Safety Considerations
Before embarking on your DIY solar project, be aware of the necessary permits and regulations in your specific locale. Additionally, observe all safety precautions during the installation process. This includes wearing proper safety gear and working with a partner to prevent any accidents.
Cost and Savings
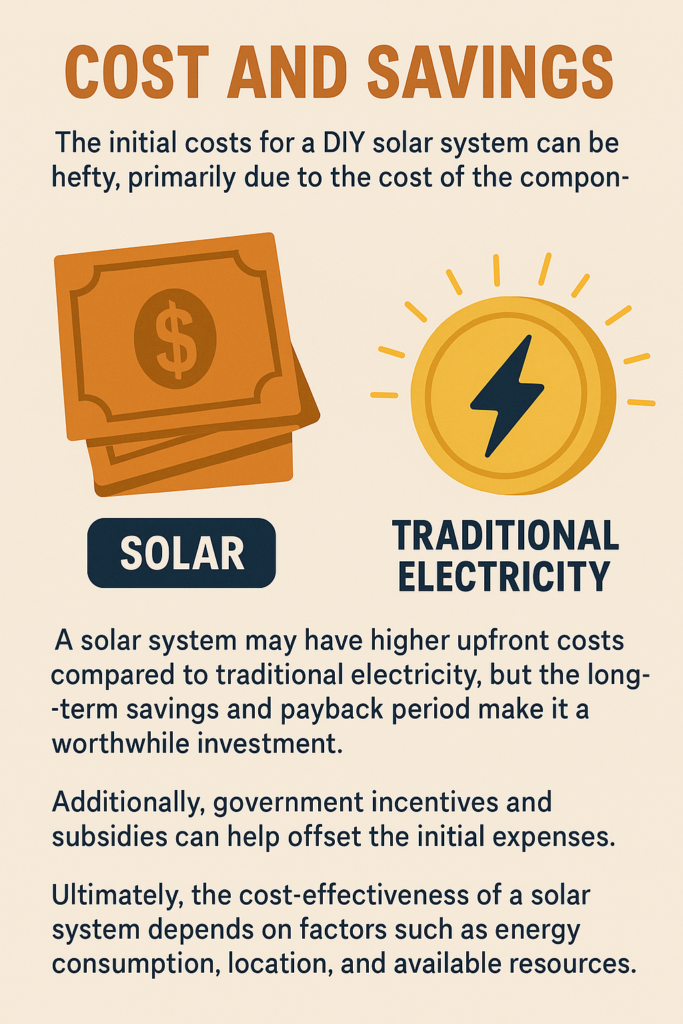
The initial costs for a DIY solar system can be hefty, primarily due to the cost of the components. A solar system may have higher upfront costs compared to traditional electricity, but the long-term savings and payback period make it a worthwhile investment. Additionally, government incentives and subsidies can help offset the initial expenses. Ultimately, the cost-effectiveness of a solar system depends on factors such as energy consumption, location, and available resources.
Advantages and Disadvantages of a DIY Solar System
A DIY solar system offers several significant benefits. Topmost is cost savings both from doing the installation yourself and reduced energy bills. Second, the project promotes energy independence by freeing homeowners from reliance on the grid. Lastly, there are undeniable sustainability benefits, with solar being a green energy source.However, the project doesn’t come without some cons. These include the potential installation challenges, need for substantial technology know-how, and a significant time commitment.
