Creating a beautiful garden path doesn’t have to break the bank. With a little creativity and elbow grease, you can design and build stunning walkways that enhance your outdoor space without emptying your wallet. In this guide, we’ll explore a variety of cheap DIY garden path ideas that are both practical and visually appealing.
Why Create a DIY Garden Path?
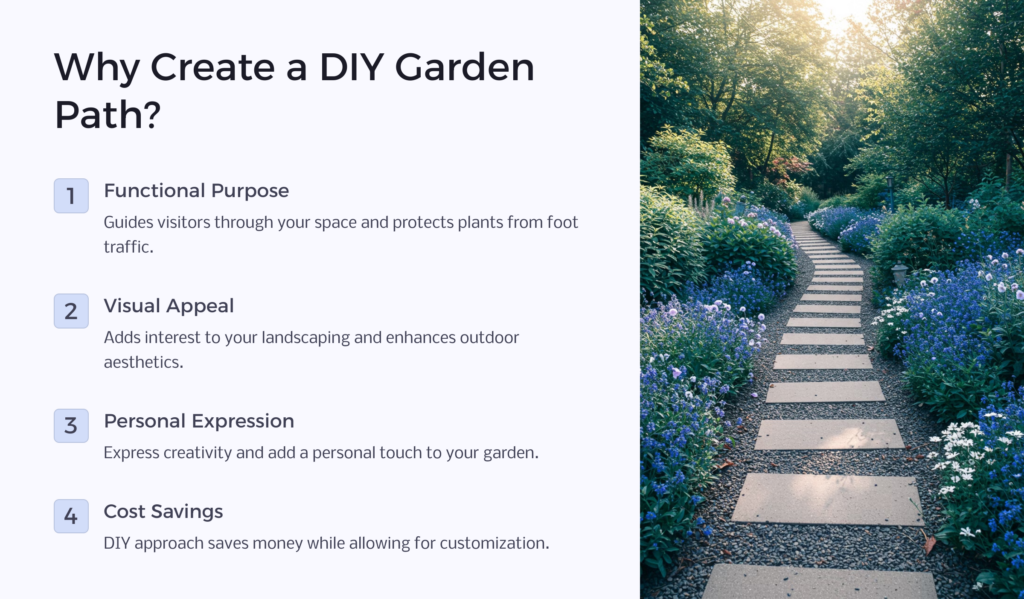
A well-designed garden path serves multiple purposes. It guides visitors through your outdoor space, protects your lawn and plants from foot traffic, and adds visual interest to your landscaping. By taking on this project yourself, you can save money while customizing the path to fit your garden’s unique style and needs.
DIY garden paths also offer an opportunity to express your creativity and add a personal touch to your outdoor living area. Whether you prefer a rustic, natural look or a more polished, modern aesthetic, there’s a budget-friendly path option that’s perfect for your garden.
Planning Your Garden Path
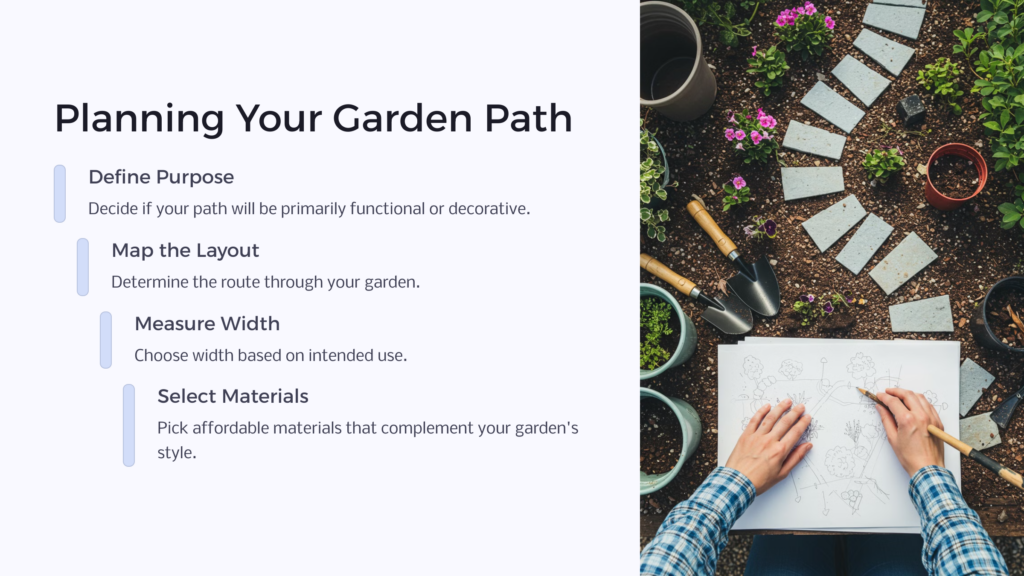
Before diving into construction, it’s essential to plan your garden path carefully. Consider the following factors:
- Purpose: Will the path be primarily functional or decorative?
- Layout: Determine the path’s route through your garden.
- Width: Decide how wide the path should be based on its intended use.
- Materials: Choose affordable materials that complement your garden’s style.
Take time to sketch out your design and measure the area where you’ll build the path. This preparation will help you estimate the amount of materials needed and avoid costly mistakes during construction.
Cheap Materials for DIY Garden Paths
There are many inexpensive materials you can use to create attractive garden paths. Here are some options:
- Gravel or pea stones
- Mulch or wood chips
- Stepping stones
- Recycled materials (like broken concrete or old bricks)
- Natural stone
- Pavers
When selecting materials, consider factors such as durability, maintenance requirements, and how well they fit with your garden’s overall design. Many of these materials can be found at local home improvement stores, landscape supply yards, or even for free from construction sites (with permission, of course).
Gravel and Pea Stone Paths
Gravel and pea stone paths are among the most affordable and easy-to-install options for DIY garden paths. These materials provide excellent drainage and create a natural, rustic look that complements many garden styles.
To create a gravel or pea stone path:
- Mark out your path and remove any grass or weeds.
- Dig a shallow trench, about 2-3 inches deep.
- Line the trench with landscape fabric to prevent weed growth.
- Add a layer of gravel or pea stones, spreading them evenly.
- Compact the stones using a plate compactor or by walking on them.
For added interest, consider using larger stones or pavers as borders to contain the gravel and create a more defined edge.
Mulch and Wood Chip Paths
Mulch and wood chip paths are incredibly budget-friendly and easy to install. They provide a soft, natural surface that’s perfect for casual garden walkways. While these materials may need to be replenished periodically, they’re an excellent choice for gardeners on a tight budget.
To create a mulch or wood chip path:
- Clear the area and remove any grass or weeds.
- Lay down landscape fabric to prevent weed growth.
- Add a 2-3 inch layer of mulch or wood chips.
- Spread the material evenly and tamp it down.
For a more defined look, consider edging your path with inexpensive materials like plastic edging, bricks, or natural stones.
Stepping Stone Paths
Stepping stone paths offer a charming and versatile option for DIY garden paths. You can use pre-made stepping stones or create your own using concrete molds. This type of path works well in both formal and informal garden settings.
To create a stepping stone path:
- Lay out your stepping stones in the desired pattern.
- Mark their positions and remove them.
- Dig shallow holes for each stone, about 1 inch deep.
- Add a layer of sand to each hole for leveling.
- Place the stepping stones and ensure they’re level.
- Fill in around the stones with soil, mulch, or gravel.
For added visual interest, consider mixing different shapes, sizes, or colors of stepping stones.
Recycled Material Paths
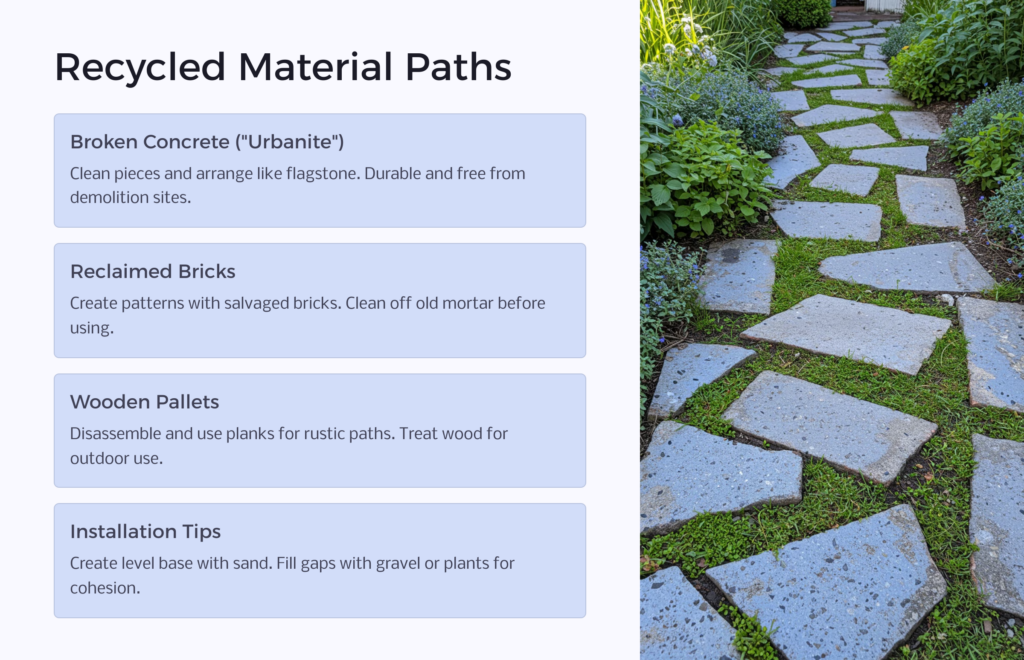
Using recycled materials for your garden path is not only budget-friendly but also environmentally conscious. Broken concrete (often called “urbanite”), old bricks, or even repurposed wooden pallets can be transformed into unique and attractive pathways.
To create a path with recycled materials:
- Clean and prepare your recycled materials.
- Lay out your design and mark the path.
- Excavate the area to create a level base.
- Add a layer of sand for stability.
- Arrange your recycled materials in the desired pattern.
- Fill gaps with sand, gravel, or plants for a cohesive look.
Remember to wear gloves and be cautious when handling broken materials to avoid injury.
Natural Stone Paths
While natural stone can be pricier than some other options, you can still create an affordable path by using smaller stones or mixing them with less expensive materials. Natural stone paths offer durability and timeless beauty to your garden.
To create a natural stone path:
- Choose stones of similar thickness for easier installation.
- Lay out your design and mark the path.
- Excavate the area to a depth slightly greater than your stone thickness.
- Add a layer of sand and compact it.
- Place your stones, ensuring they’re level and stable.
- Fill gaps with smaller stones, gravel, or plants.
For a more budget-friendly approach, consider using natural stone as accents within a gravel or mulch path.
Paver Paths
Concrete pavers offer a balance between affordability and durability. They come in various shapes, sizes, and colors, allowing you to create custom designs that suit your garden’s style.
To create a paver path:
- Plan your design and calculate the number of pavers needed.
- Excavate the path area to a depth of about 6 inches.
- Add a 4-inch layer of compacted gravel for drainage.
- Spread a 1-inch layer of sand and level it.
- Lay your pavers in the desired pattern.
- Fill gaps with sand and compact the path.
To save money, look for sales or clearance deals on pavers at your local home improvement store.
Maintaining Your DIY Garden Path
Once you’ve created your beautiful, budget-friendly garden path, it’s important to maintain it to ensure its longevity and appearance. Regular maintenance tasks include:
- Weeding between stones or pavers
- Replenishing gravel, mulch, or wood chips as needed
- Sweeping or rinsing the path to remove debris
- Repairing any loose or damaged areas promptly
With proper care, your DIY garden path will continue to enhance your outdoor space for years to come.
Enhancing Your Path with Budget-Friendly Decorations
To add extra charm to your DIY garden path without spending a lot, consider these affordable decorative ideas:
- Plant low-growing groundcover between stepping stones
- Add solar-powered path lights for nighttime illumination
- Place potted plants along the edges of your path
- Incorporate found objects like interesting rocks or driftwood
- Create simple DIY garden art to place alongside your path
These small touches can make a big impact on the overall look of your garden path and outdoor space.
By implementing these cheap DIY garden path ideas, you can create a beautiful and functional walkway that enhances your outdoor living area without straining your budget. Remember to choose materials and designs that complement your garden’s style and meet your specific needs. With some creativity and effort, you’ll soon be enjoying a stunning garden path that you built yourself.
Check us out at Homeowner.org for more on home improvement. We’re here to be your ultimate resource as a homeowner!