Hardwood floors have been a staple in homes for centuries, prized for their timeless beauty and durability. Whether you’re building a new home or renovating an existing one, installing hardwood floors can transform your living space and add significant value to your property. In this comprehensive guide, we’ll explore everything you need to know about hardwood floor installation, from choosing the right wood to maintaining your new floors for years to come.
Choosing the Right Hardwood for Your Home
Selecting the perfect hardwood for your floors is a crucial first step in the installation process. There are many factors to consider, including the type of wood, its hardness, and its color.
Popular hardwood options include oak, maple, cherry, and walnut. Each type of wood has its own unique characteristics. Oak, for example, is known for its durability and distinctive grain pattern, while maple offers a smoother, more uniform look.
The hardness of the wood is measured using the Janka scale. Harder woods like hickory or Brazilian cherry are more resistant to dents and scratches, making them ideal for high-traffic areas. Softer woods like pine can add character to your home but may require more maintenance over time.
Color is another important consideration. Lighter woods can make a room feel more spacious and airy, while darker woods create a warm, cozy atmosphere. Keep in mind that many hardwoods will change color slightly over time due to exposure to sunlight.
Preparing for Hardwood Floor Installation
Before the actual installation begins, proper preparation is key to ensuring a successful outcome. This process involves several important steps:
- Acclimation: Hardwood needs to adjust to the humidity and temperature of your home before installation. This typically takes 3-5 days.
- Subfloor preparation: The subfloor must be clean, dry, and level. Any imperfections should be addressed before installation begins.
- Moisture testing: Excessive moisture can cause wood to warp or buckle. Professional installers will conduct moisture tests on both the subfloor and the hardwood to ensure optimal conditions.
- Removal of existing flooring: If you’re replacing old flooring, it will need to be removed and the subfloor properly prepared.
- Gathering necessary tools and materials: This may include the hardwood planks, underlayment, adhesive, nails, and various tools specific to the installation method being used.
Proper preparation can make the difference between a floor that lasts for generations and one that develops problems within a few years.
Methods of Hardwood Floor Installation
There are several methods for installing hardwood floors, each with its own advantages and best use cases. The three main methods are nail-down, glue-down, and floating installation.
Nail-down installation is the traditional method and is still widely used today. This technique involves nailing the hardwood planks directly to the subfloor. It’s best suited for solid hardwood planks and is often used on wood subfloors.
Glue-down installation uses adhesive to secure the hardwood to the subfloor. This method is versatile and can be used with both solid and engineered hardwood. It’s particularly useful for installation over concrete subfloors.
Floating installation doesn’t attach the hardwood to the subfloor at all. Instead, the planks are connected to each other, creating a single unit that “floats” over the subfloor. This method is typically used with engineered hardwood and is the easiest for DIY enthusiasts to tackle.
The choice of installation method will depend on factors such as the type of hardwood you’ve chosen, your subfloor material, and your level of DIY expertise.
Step-by-Step Hardwood Floor Installation Process
While the exact process may vary depending on the installation method, here’s a general overview of the steps involved in installing hardwood floors:
- Layout planning: Determine the direction of the planks and create a layout plan.
- Installing underlayment: If required, lay down an underlayment to provide a moisture barrier and sound insulation.
- Starting the first row: Begin at the longest, straightest wall and lay the first row of planks.
- Cutting and fitting planks: Use a saw to cut planks as needed to fit around obstacles or at the end of rows.
- Securing the planks: Depending on your installation method, this may involve nailing, gluing, or clicking planks together.
- Continuing row by row: Work your way across the room, ensuring each row is straight and properly spaced.
- Finishing touches: Install trim and molding to cover expansion gaps and create a polished look.
Remember, hardwood floor installation is a skill that takes practice to master. If you’re not confident in your abilities, it’s often best to hire a professional to ensure the job is done correctly.
Tools and Equipment Needed for Hardwood Floor Installation
Having the right tools on hand can make the installation process much smoother. Here’s a list of common tools used in hardwood floor installation:
- Tape measure and chalk line for layout planning
- Saw (circular saw, miter saw, or table saw) for cutting planks
- Hammer or pneumatic nailer for nail-down installation
- Trowel for spreading adhesive in glue-down installation
- Spacers to maintain expansion gaps
- Pry bar for fitting tight planks
- Moisture meter for testing subfloor and wood moisture levels
- Safety equipment such as knee pads, safety glasses, and dust masks
For DIY installations, you may be able to rent some of the more specialized tools from a home improvement store.
Common Challenges in Hardwood Floor Installation
Even with careful planning, you may encounter some challenges during the installation process. Here are a few common issues and how to address them:
Uneven subfloors can lead to gaps or creaking in your hardwood floor. This can often be resolved by using a self-leveling compound before installation begins.
Moisture problems can cause wood to warp or cup. Proper acclimation and the use of moisture barriers can help prevent this issue.
Gaps between planks may appear if the wood wasn’t properly acclimated or if humidity levels in your home fluctuate significantly. Using a humidifier or dehumidifier to maintain consistent humidity can help.
Squeaky floors are often caused by movement between the planks and subfloor. This can sometimes be fixed by driving additional nails through the subfloor into the floor joists.
Being aware of these potential issues can help you address them quickly if they arise during or after installation.
Finishing and Maintaining Your New Hardwood Floors
Once your hardwood floors are installed, proper finishing and maintenance are crucial to keeping them looking beautiful for years to come.
If you’ve installed unfinished hardwood, you’ll need to sand and finish the floors. This process involves several steps of sanding with progressively finer grits, followed by the application of stain (if desired) and a protective finish.
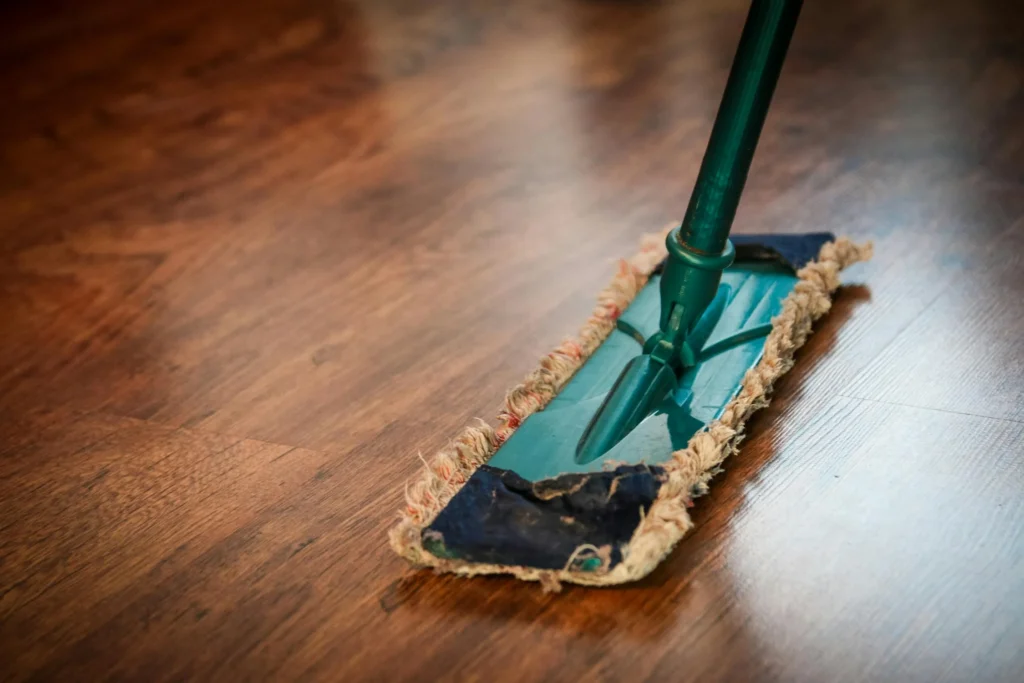
For pre-finished hardwood, maintenance begins immediately after installation. Regular cleaning with a soft broom or dry mop will keep dirt and grit from scratching the surface. Use cleaning products specifically designed for hardwood floors, and avoid excess water which can damage the wood.
Over time, you may need to refinish your hardwood floors to restore their luster. This typically involves sanding down the existing finish and applying a new one. The frequency of refinishing depends on the amount of wear and tear your floors receive, but it’s often needed every 7-10 years.
The Cost of Hardwood Floor Installation
The cost of installing hardwood floors can vary widely depending on several factors. These include the type of wood chosen, the size of the area being covered, the complexity of the installation, and whether you’re hiring professionals or doing it yourself.
On average, professional hardwood floor installation can cost between $6 and $12 per square foot for materials and labor. High-end or exotic woods may cost more, potentially up to $20 per square foot or more.
DIY installation can save on labor costs, but it’s important to factor in the cost of tools and the potential for mistakes that may need professional correction.
While hardwood floor installation represents a significant investment, it’s one that can pay off in terms of increased home value and long-term durability. Many homeowners find that the beauty and longevity of hardwood floors make them well worth the cost.
Environmental Considerations in Hardwood Floor Installation
As environmental awareness grows, many homeowners are considering the ecological impact of their flooring choices. Hardwood can be a sustainable option when sourced responsibly.
Look for hardwood certified by the Forest Stewardship Council (FSC), which ensures the wood comes from responsibly managed forests. Some manufacturers also offer reclaimed wood options, which give new life to old timber.
Another eco-friendly option is engineered hardwood, which uses less of the slow-growing tree species for its top layer. The core is made from faster-growing species or recycled wood fiber.
When it comes to finishes, look for low-VOC (volatile organic compound) options to minimize indoor air pollution. Water-based finishes are generally more environmentally friendly than oil-based ones.
By making informed choices, you can enjoy the beauty of hardwood floors while minimizing your environmental impact.
Making the Most of Your New Hardwood Floors
Once your hardwood floors are installed, there are several ways to enhance their beauty and protect them from damage:
- Use furniture pads under the legs of heavy pieces to prevent scratches and dents.
- Place rugs in high-traffic areas to reduce wear.
- Install window treatments to protect your floors from direct sunlight, which can cause fading over time.
- Maintain a consistent indoor humidity level to prevent wood from expanding or contracting.
- Clean up spills promptly to prevent water damage or staining.
With proper care, your hardwood floors can remain a beautiful feature of your home for generations to come.
Hardwood floor installation is a significant project that can dramatically improve the look and value of your home. By understanding the process, from choosing the right wood to maintaining your new floors, you can ensure a successful installation that will provide beauty and durability for years to come. Whether you decide to tackle the project yourself or hire professionals, the end result will be a classic, timeless floor that enhances the beauty of your home.
Check us out at Homeowner.org for more great ideas and tips on buying, improving, and loving your home.


