Building a privacy fence can transform your backyard into a cozy retreat. But before you grab your tools, it’s important to plan carefully in order to avoid costly mistakes such as heavy fines for breaking local regulations or accidentally digging into utility lines. First, check your local building codes and get any needed permits. You can find this information on your city’s website or by calling the building department.
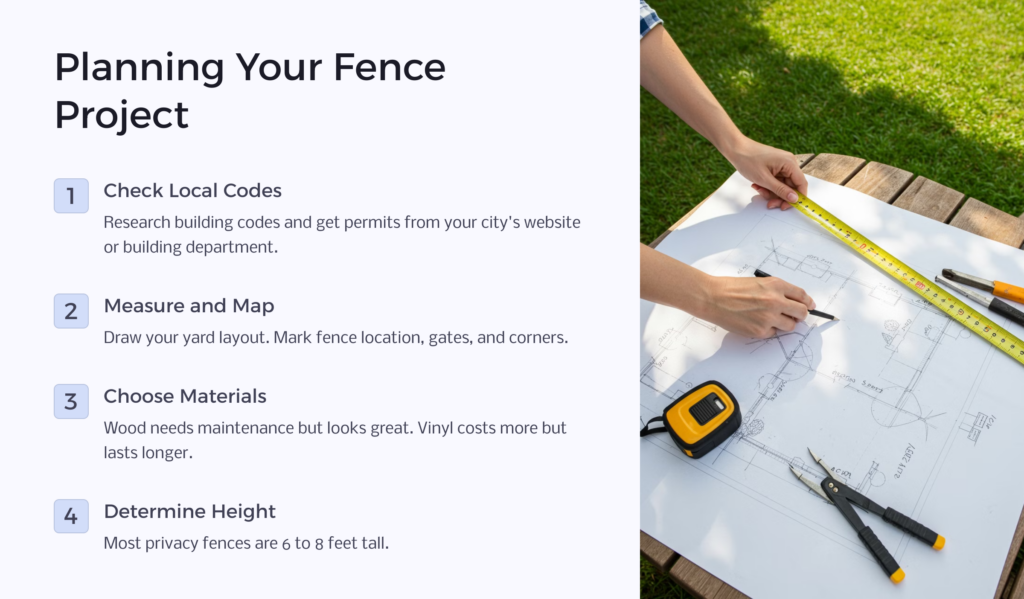
Next, decide on the size and layout of your fence. Measure your yard and draw a simple map. Mark where you want the fence to go. Think about things like gates, corners, and how the fence will look from both inside and outside your yard.
Choose your fence materials carefully. Wood is popular and looks great, but it needs more care. A vinyl fence will last longer but costs more upfront. Whatever you pick, make sure it fits your budget and style. Don’t forget to think about how tall you want your fence. A common fence height for privacy fences is 6 to 8 feet.
Gathering Essential Tools and Materials
To build your fence, you’ll need the right tools and materials. For tools, you’ll want:
- A post hole digger or auger
- A level
- A tape measure
- A saw
- A drill
- A hammer
For materials, your list will include:
- Fence posts
- Rails
- Pickets or panels
- Concrete mix
- Screws and nails
- Post caps (optional)
The amount of fencing you need depends on your fence size. Measure your desired perimeter carefully and buy a little extra to be safe. You can always return what you don’t use. Check home improvement store websites to compare prices and find good deals.
Marking the Fence Line and Post Locations
Start by marking where your fence will go. Use stakes and string to create a straight line. Make sure the line is exactly where you want your fence. If your yard slopes, you’ll need to adjust your plan. You might need to “step” your fence to follow the slope.
Next, mark where each post will go. Posts usually need to be 6 to 8 feet apart. Use spray paint or small flags to mark these spots. Double-check that your markings are straight and evenly spaced. This step is crucial for a good-looking fence.
Before you dig, call your local utility company. They can mark any underground lines for free. This keeps you safe and prevents costly mistakes. It’s an important step that many people forget.
Digging Post Holes and Setting Posts
Now it’s time to dig. Each post hole should be about one-third the height of your post plus 6 inches for gravel. So, for a 6-foot fence, dig holes about 30 inches deep. Make the holes 3 times wider than your posts. This gives you room to add concrete.
Put 6 inches of gravel in each hole. This helps with drainage. Then, set your first post in the hole. Use a level to make sure it’s straight. Mix your concrete following the instructions on the bag. Pour it around the post, leaving a few inches at the top for soil.
Brace the post with boards to keep it straight while the concrete dries. This usually takes 24 to 48 hours. Repeat this process for all your posts. Take your time and check that each post is level and in line with the others.
Installing Fence Rails and Supports
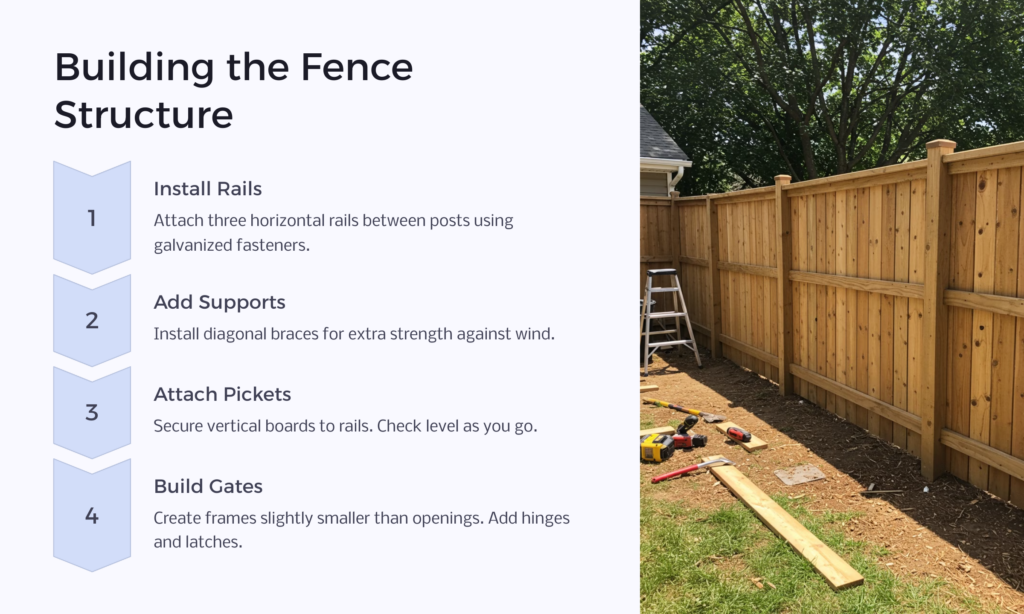
Once your posts are set, it’s time to add the rails. These are the horizontal boards that connect your posts. Most privacy fences have three evenly spaced horizontal rails. Measure and mark where each rail will go on your posts.
Attach the rails to the posts using galvanized nails or screws. Make sure they’re level and secure. If your fence is longer than your rails, you’ll need to join rails between posts. Do this at the posts, not in the middle of a section.
For extra strength, you can add diagonal supports. These go from the top of one post to the bottom of the next. They help keep your fence sturdy in strong winds.
Attaching Fence Pickets or Panels
Now for the fun part – adding the pickets or panels that will give you privacy. If you’re using individual pickets, start at one end of your fence. Place the first picket tight against the post. Use a level to make sure it’s straight up and down.
Nail or screw the picket to each rail. Leave a small gap between pickets for wood that might swell. Or, place them tight together for maximum privacy. Keep checking that your pickets are level as you go.
If you’re using pre-made panels, the process is similar. Lift the panel into place between two posts. Make sure it’s level, then attach it to the rails. Panels are faster to install but might not work as well on uneven ground.
Adding Gates to Your Privacy Fence
Gates are important for easy access to your yard. Build a frame for your gate using 2×4 boards. Make it slightly smaller than the opening between posts. Add diagonal bracing for strength. Then, attach your pickets or panels to the frame.
Hang your gate using heavy-duty hinges. Make sure it swings freely and closes easily. Add a latch to keep it closed. You might also want a handle for easy opening and closing and a gate wheel to help prevent sagging.
For wider openings, consider a double gate. This works well for driveways or large equipment. Just be sure to add a center post for support when the gates are closed.
Finishing Touches: Staining and Sealing
To help your fence last longer, add a protective finish. If you used pressure-treated wood, wait a few months before staining. This gives the wood time to dry out. For other woods, you can stain right away.
Choose a stain that looks good and protects against water and sun damage. Apply it evenly with a brush or sprayer. You might need two coats for the best protection. Don’t forget to stain the bottom of the fence boards to prevent moisture damage.
Sealing your fence is another option. This clear coat helps protect the wood without changing its color. Reapply stain or sealer every few years to keep your fence looking great.
Maintaining Your New Privacy Fence
Regular care will help your fence last for years. Inspect it each spring for any damage. Look for loose boards, wobbly posts, or signs of rot. Fix small problems right away before they get bigger.
Clean your fence once a year with a power washer or a stiff brush and soapy water. This removes dirt and mildew. After cleaning, let the fence dry completely. Then, check if it needs a new coat of stain or sealer.
Trim any plants growing near your fence. Vines and bushes can hold moisture against the wood, causing damage. Also, keep sprinklers from hitting wood fences directly as too much water can lead to rot and decay.
Enhancing Your Fence with Decorative Elements
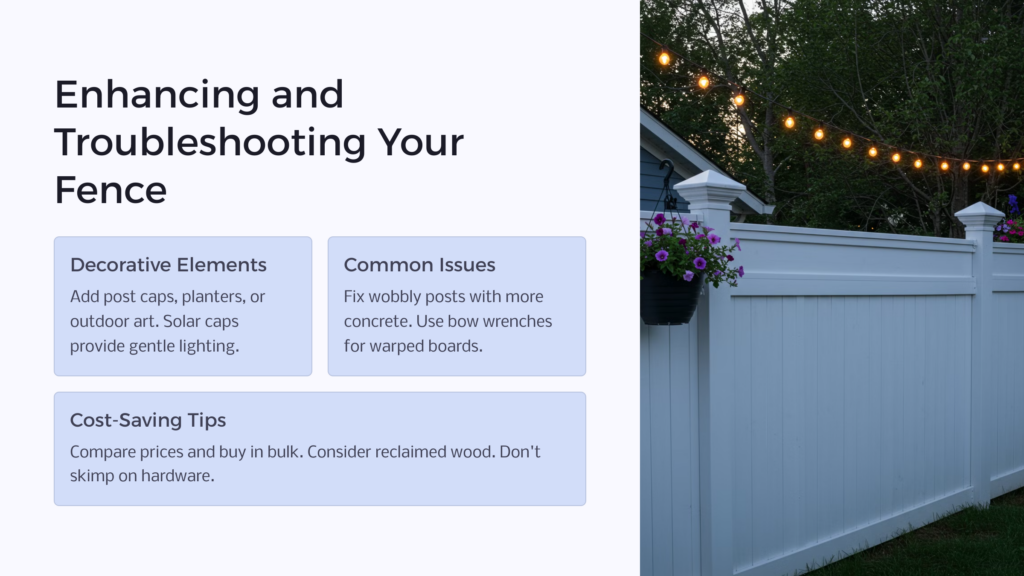
Make your fence unique with some simple additions. Add post caps for a finished look. You can find these in many styles, from simple to fancy. Solar-powered caps can even add soft lighting to your yard at night.
Hang planters on your fence for a splash of color. Make sure they don’t hold water against the wood. You could also add decorative panels or lattice to the top of your fence for extra interest.
Consider painting a mural or attaching outdoor art to your fence. This can turn your privacy fence into a beautiful backdrop for your garden. Just be sure to use weather-resistant materials.
Troubleshooting Common Fence Building Issues
Even with careful planning, you might run into some problems. If a post seems wobbly, you may need to add more concrete or replace the post. For warped boards, try using a bow wrench to straighten them before attaching.
Gaps between pickets can be fixed by adding thin strips of wood, called battens. If your gate sags, adjust the hinges or add a diagonal brace for support. For fences on slopes, you might need to “stair-step” the sections to follow the ground.
Remember, it’s okay to ask for help. If you’re not sure how to fix a problem, check online tutorials or ask at your local hardware store. Sometimes, calling in a pro for tricky parts can save time and frustration.
Cost-Saving Tips for DIY Fence Construction
Building your own fence can save money, but costs can add up. To keep expenses down, compare prices at different stores. Sometimes, buying in bulk can get you a discount. Look for sales on materials, especially at the end of the summer.
Consider using reclaimed wood for a unique look that’s also budget-friendly. Just make sure it’s in good condition. You can also mix materials, like using cheaper wood for the pickets and nicer wood for the posts and rails.
Don’t skimp on important items like concrete or hardware. Cheap fasteners can rust and fail, costing more in the long run. A fence is an important investment for any homeowner, so make sure to invest in good-quality basics, and save on the decorative elements if needed.
Remember, your time is valuable too. If a task seems too difficult, it might be worth hiring help for that part. This can prevent costly mistakes and ensure your fence is built to last. Check us out at Homeowner.org for more great ideas and tips on buying, improving, and loving your home.
